3 Ways to Improve Your Home with These DIY Projects
When it comes to our homes, we could all use a little sprucing up sometime. A new design or feature in your home can take decor that’s boring and stale and breathe new life into it. But for most of us, the budget to hire a professional simply isn’t there.
The good news is, there are so many DIY ways you can transform your home with a little guidance and a bit of elbow grease! Whether you’re looking to update your kitchen, redesign your bedroom, or beautify your living room, there’s a DIY project that will help you achieve your dreams! So grab your toolbox, put on your work clothes, and let’s get creative!
“Refinish” your countertops with contact paper
Have you always dreamed of quartz countertops in your kitchen or bathroom, but don’t want to pay quartz countertop prices? Fake it till you make it with contact paper! Contact paper is both inexpensive and available in an enormous variety of prints and colors, with tons of options that look just like real quartz.
The first step to refinishing your countertops with contact paper is to make sure you’re working with an extremely clean surface. Scrub your countertops well, and then make sure to get them completely dry. Starting at one end of your counter, peel off the edge of your first sheet of contact paper and align it flush with the edge of your countertop. Press down firmly, and smooth out any air bubbles that may appear.
Continue to work your way across your countertop inch by inch. When you come to an edge, use an exacto knife to perfectly cut the contact paper to fit. Be sure to continue to smooth out any air bubbles that appear. Voila! A brand new look for your countertop!
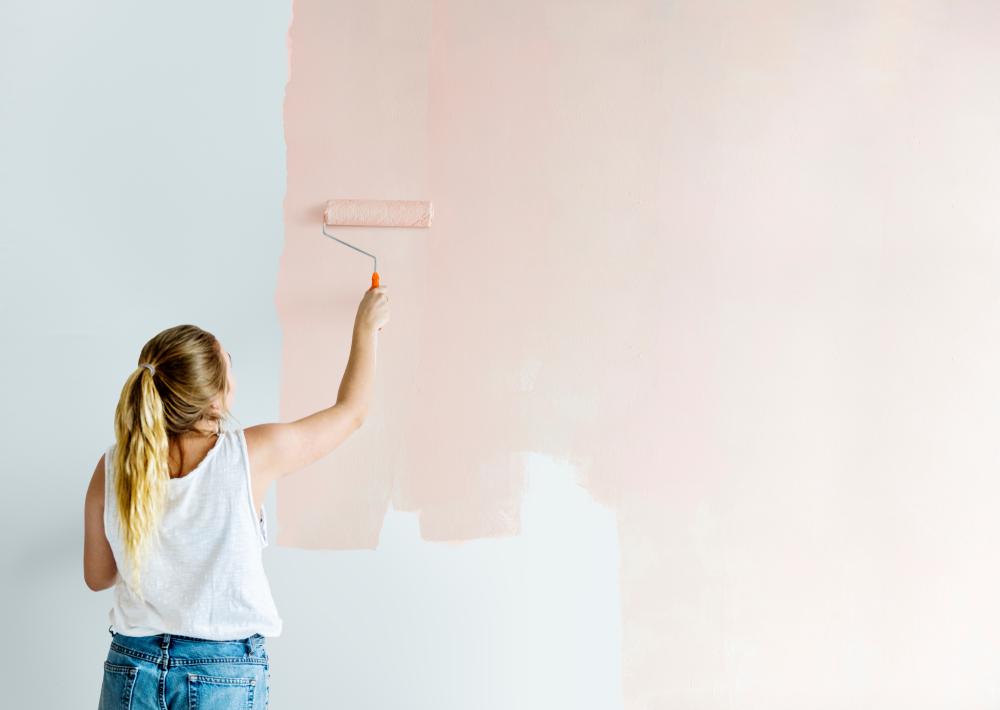
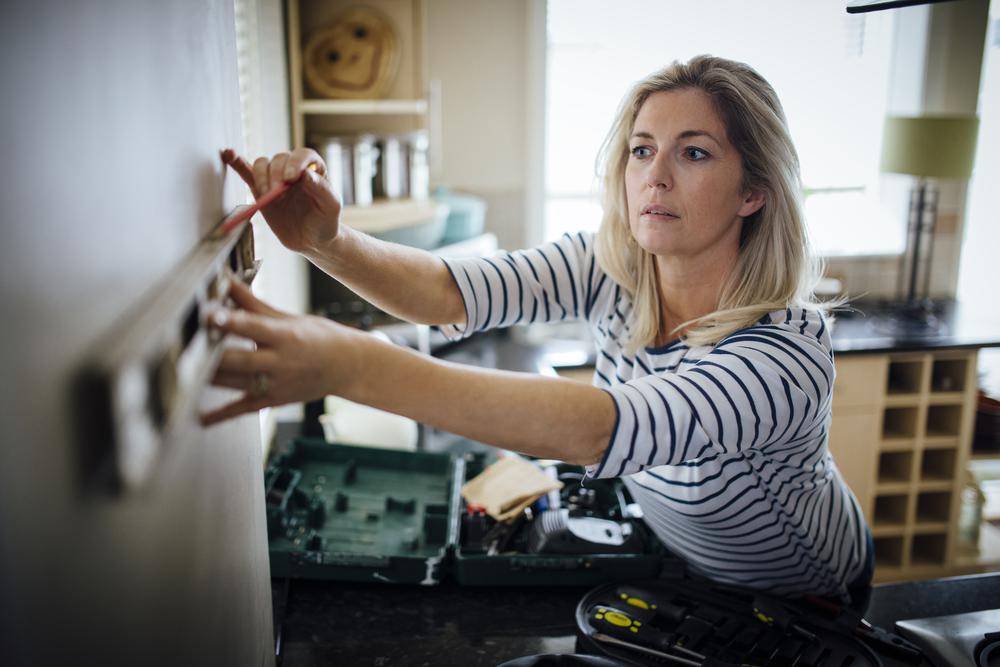
Update your cabinetry with fresh paint and new hardware
Dated cabinetry can really hold back the look of a whole room. Sometimes, all you need to bring your kitchen or bathroom into the 21st century is a fresh coat of paint and a bit of new hardware! A modern paint job and some minimalist drawer pulls can breathe new light into a dated room.
- You can find excellent power tools for your next project here: https://www.blackanddecker.com/products/power-tools
First, remove all doors and drawers from your cabinets. Take any existing hardware out. Next, sand down all surfaces that you plan on painting to remove the existing finish and prepare the surface for painting. For the first coat, you’ll need to apply a primer. Next, it’s time to paint! For a clean, modern look, opt for white or a slate gray.
Or, choose a bright color like yellow or blue to pop in an otherwise simple kitchen. Be sure to paint everything with at least two coats of paint to ensure opacity. Finally, finish with a coat of finish, either matte or glossy. Once your paint is all dry, it’s time to put in your new hardware. The only remaining step is to re-install doors and drawers and your kitchen will be looking stylish!
Give your floors a little TLC
The floors are the most used parts of our homes, and over time, they endure a lot of damage. The good news is, a little work goes a long way when it comes to your floors! No matter the type of flooring you’ve got, there are plenty of ways to improve them!
If you’ve got carpet floors, there are plenty of places that rent out steam cleaners on a daily basis. Steam cleaners are pretty easy to use—they just take a bit of gumption and a little practice.
Baking soda and warm water can do wonders on a tricky stain. So can white vinegar or club soda. These all work to lift the stain out of the carpet. Just remember to blot any areas rather than scrubbing! Scrubbing will simply push the stain further into the fibers, which we don’t want.
- Need a little R and R after the project is done? You won’t want to miss this: https://cbdfx.com/collections/cbd-tincture/
A few beautiful touch-ups is often all it takes to make your home truly shine! Try these DIY projects out and see how you can elevate your living space.